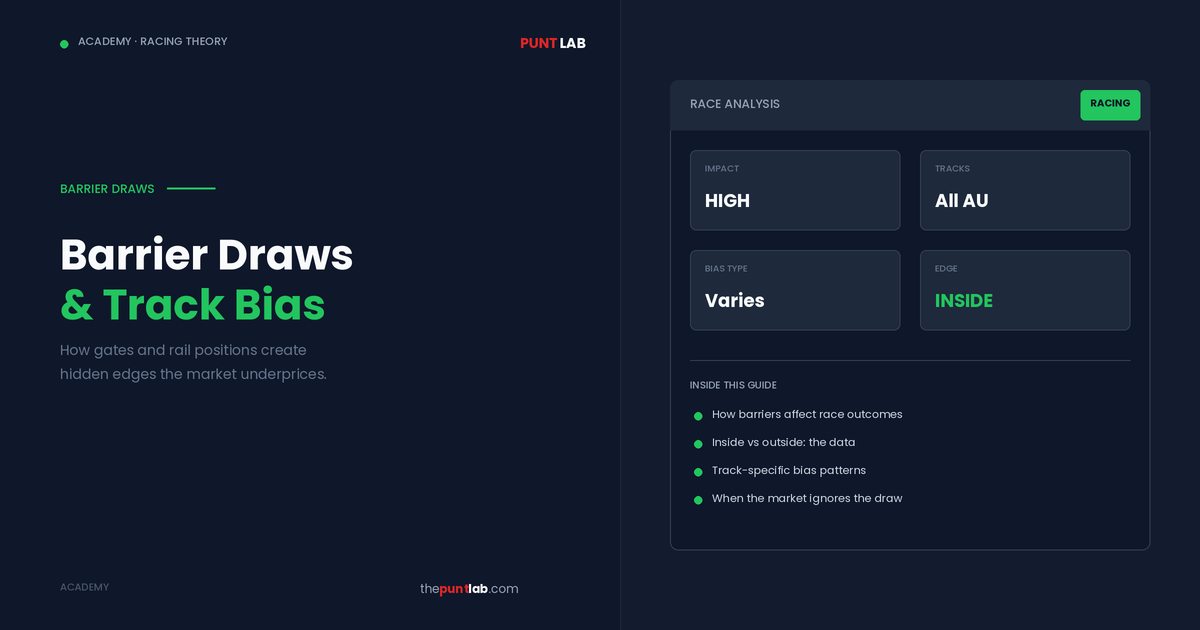
Every race begins at the barriers. And for most punters, that’s where barrier analysis ends — a quick glance at the draw, a vague feeling about whether “inside is good,” and on to the form guide. But barrier draws and track bias are among the most underpriced factors in Australian racing. The data shows clear, measurable, and repeatable patterns that the betting market consistently underweights.
This guide covers how barrier draws affect race outcomes, how track bias creates hidden advantages, and how to incorporate both into your betting process alongside speed maps and sectional times.
How Barrier Draws Affect Race Outcomes
The barrier draw determines a horse’s starting position across the track. Barrier 1 is closest to the inside rail; barrier 14+ is the widest. The impact of the draw depends on three factors: race distance, track shape, and track bias.
Short Races (1000m-1200m)
In sprints, the barrier draw is critical — often the single most important factor after the horse’s ability. The reason is simple: sprints have a short run to the first turn (or no turn at all on straight tracks), which means horses drawn wide must either burn energy to cross and find the rail or settle wider through the turn, covering extra ground.
A horse drawn in barrier 1-4 in a 1000m race at Randwick has a measurable advantage over one drawn in barrier 10+. The wider horse either uses energy early to cross or adds 2-4 lengths to its journey by racing wide — and in a sprint, that’s the difference between winning and running 5th.
Middle Distances (1400m-1800m)
The barrier draw still matters but becomes less decisive. The longer run to the first turn gives wide-drawn horses more time to find a position without burning energy. A good jockey can offset a wide draw at these distances by riding patiently and settling in behind the speed.
The exception is when the track has a genuine bias — if the rail is off and the inside is dead ground, even a middle-distance horse drawn in barrier 1-2 may be disadvantaged despite being closest to the rail.
Staying Races (2000m+)
The barrier draw has the least impact in staying races. The long run before the first serious positional battle allows all horses to find their preferred running position regardless of starting gate. A horse’s stamina, tactical speed, and jockey skill matter far more than whether it drew barrier 3 or barrier 11.
The exception: Small fields (under 8 runners) in staying races. With fewer horses, there’s less traffic and the leader often controls the tempo from the front. In these cases, an inside draw that allows a horse to find the lead cheaply can be a significant advantage.
Track Bias: The Hidden Factor
Track bias refers to a persistent advantage for horses racing in a particular part of the track — inside, outside, or at a particular position relative to the rail. Bias exists because tracks are not perfectly uniform: the ground closer to the rail can be more worn, waterlogged, or chewed up, while the wider ground may be fresher and faster.
Inside Bias
When the rail is in the “true” position and the inside ground is firm and fresh, horses racing close to the rail cover less distance and have the fastest surface. Inside bias favours horses drawn in low barriers and those that race in the first 2-3 positions from the fence.
Outside Bias
When the rail has been out for extended periods (or moved to protect the inside), the inside ground can be worn and slow while the wider ground is fresher. Horses racing 3-4 wide may actually be on faster ground despite covering more distance. This is counterintuitive and the market consistently underprices it.
Leader Bias
Some tracks at certain distances strongly favour horses that lead or race on the speed. This isn’t about barrier draws directly — it’s about track geometry (tight turns that make it hard to run on from behind) and surface conditions (tracks where deceleration in the final 200m is minimised on the rail).
How to identify bias: Watch the first 3-4 races of a meeting. If horses drawn low and racing on the rail are consistently running 1st-3rd, there’s an inside bias developing. If horses wide on the track are finishing strongly while inside runners are compressing, the bias is outside. Adjust your betting from race 4-5 onwards once the pattern is clear.
Track-Specific Patterns
Randwick (Sydney)
The Randwick course is a large, sweeping track that generally gives horses drawn in barriers 1-6 an advantage in sprints. The long straight (roughly 410m) allows backmarkers to finish off, but in 1200m races the first turn comes quickly and wide draws are a genuine disadvantage. When the rail is out 3m+, the inside bias weakens and outside runners become more competitive.
Flemington (Melbourne)
Flemington’s straight-six races (1000m, 1200m down the straight) have no turns, meaning the barrier draw functions differently — it determines which part of the track a horse races on rather than how far it has to travel to a turn. In straight-track races, the bias of the day (high/low side of the track) matters more than the barrier number itself. Check the course map and early race results to determine which side of the track is favoured.
Eagle Farm (Brisbane)
Eagle Farm has historically had one of the strongest track biases in Australian racing. When the surface is firm, inside runners are heavily favoured. When the track is heavy, the bias can shift dramatically to the wider ground. Always check recent race results at Eagle Farm before betting — the bias can change meeting to meeting.
Rosehill (Sydney)
A tighter track than Randwick with a shorter straight (~350m). The tight turns make it harder for backmarkers to wind up, which creates a persistent leader/on-pace bias. Horses drawn low who can find the lead or sit outside the leader have a structural advantage — particularly in races under 1400m.
Rail Positions and What They Mean
Before every meeting, the track manager announces the rail position. This tells you how far from the inside fence the running rail has been moved.
“True” position: The rail is in its normal position. The inside ground is the shortest path. Standard bias patterns apply.
“+3m” or “+4m”: The rail has been moved out 3-4 metres from the fence. Horses racing “on the rail” are actually running on ground that was 3-4 metres from the inside last meeting — potentially fresher ground. Depending on how many meetings have been held on the inside ground, this can neutralise or even reverse the typical inside advantage.
“+7m” or more: Significant rail movement. The inside ground from previous meetings is now well offline. The “rail” position is on relatively fresh ground, while the true inside is likely chewed up. Wide draws become less of a disadvantage because the rail itself is already mid-track.
How to use it: Cross-reference the rail position with the track condition. If the rail is True on a Good 4 track, standard inside bias applies. If the rail is +6m on a Soft 6 track, the bias picture changes — the wider ground where horses normally travel may be the fastest surface on the track.
Incorporating Draw and Bias Into Your Process
Step 1: Check the barrier draw for every runner. Note which horses are drawn inside (1-4), middle (5-8), and wide (9+).
Step 2: Check the rail position for the meeting. Determine whether inside or outside ground is likely to be favoured.
Step 3: Watch the first 2-3 races. Look for patterns — are inside runners winning? Are wide runners running on? Is there a speed bias? Adjust from race 4 onwards.
Step 4: Overlay barrier draw and bias data onto your speed map assessment. A horse drawn 1 in a sprint with an inside bias is a stronger proposition than the form alone suggests. A horse drawn 12 in the same conditions faces a measurable disadvantage the market may not fully price.
Step 5: Compare your adjusted assessment to the market odds. Use the Vig Remover to strip the margin and check whether the barrier/bias-adjusted probability exceeds the implied probability.
Common Mistakes
Assuming inside is always best: It’s not. Rail position, track condition, and race distance all affect whether the inside is an advantage or a trap. Always check the specific conditions.
Ignoring the draw in staying races: The draw matters less in long races, but it still matters in small fields and on tracks with tight turns. Don’t dismiss it entirely.
Not watching early races: The best bias information comes from the races themselves. If you’re betting on race 7, the results of races 1-6 tell you what the track is doing today — not what it did last Saturday.
Overweighting the draw in large fields: In fields of 16+, the barrier draw creates chaos — horses drawn wide can be shuffled back, but so can inside horses who get trapped behind slow leaders. In very large fields, the draw’s effect is partially randomised by traffic.
The Bottom Line
Barrier draws and track bias are two of the most underpriced factors in Australian racing. The data shows clear, repeatable patterns that the betting market — driven by punters focused on form alone — consistently underweights. Build draw analysis and bias observation into your standard process alongside speed maps and sectional times, and you’ll find edges the market misses.
Related Reading
- Speed Maps Explained — Predict the running pattern
- The Science Behind Speed Maps
- Sectional Times — Hidden merit in the data
- How to Read a Form Guide
- Market Percentages (The Vig) — What you’re paying
- Expected Value (EV) — Quantify the barrier edge
Tools
Vig Remover Strip the margin on win markets Odds Converter Convert between all odds formats Kelly Calculator Stake based on draw-adjusted edge Betting Tracker Track bias-based bets separately